
TREE & LAWN CARE BLOG

When Should I Apply Pre-Emergent To My Lawn In Georgia?
When Should I Apple Pre-Emergents To My Lawn In Georgia?

As a homeowner in Georgia, maintaining a lush and healthy lawn is likely one of your top priorities. A key aspect of proper lawn care is preventing the growth of unwanted weeds. One effective way to achieve this is by applying pre-emergent herbicides. These specialized products create a barrier in the soil, preventing weed seeds from germinating and taking root. However, timing is crucial when it comes to applying pre-emergents in Georgia. Applying pre-emergents at the right time can significantly reduce the need for post-emergent herbicides and manual weed removal, saving you time and effort in the long run.
Factors to Consider When Determining Timing for Pre-Emergent Applications in Georgia
Several factors come into play when determining the optimal timing for pre-emergent applications in Georgia. The most critical factor is the germination period of the target weeds. Different weed species have distinct germination times, and understanding these timelines is key to effective weed control. Additionally, consider the climate and weather conditions in your specific region of Georgia. Soil temperature, moisture levels, and sunlight exposure can all influence weed seed germination. Consulting with a local lawn care expert can provide valuable insights into the specific timing for pre-emergent applications in your area.
Timing for Pre-Emergent Applications in Georgia
For common warm-season weeds like:
Crabgrass and annual bluegrass, early spring is the preferred timing. Aim to apply pre-emergents when soil temperatures consistently reach around 55 to 60 degrees Fahrenheit. This typically occurs around late February to early March in most regions of Georgia.
For cool-season weeds such as:
Chickweed and henbit - Fall applications are more effective. Apply pre-emergents in late summer or early fall, around August to September, when soil temperatures begin to cool down.
Lawn Care Schedule for Georgia, Including Pre-Emergent Applications
To establish a well-rounded lawn care schedule in Georgia, it's important to consider the different tasks throughout the year, including pre-emergent applications. Here's a general seasonal schedule to guide you:
Spring: Apply pre-emergents for warm-season weeds like crabgrass and annual bluegrass. Begin mowing regularly and fertilize as needed.
Summer: Continue mowing and watering your lawn. Monitor for any signs of weed growth and address them promptly.
Fall: Apply pre-emergents for cool-season weeds like chickweed and henbit. Aerate the soil if necessary and overseed any bare or thin areas.
Winter: Prepare your lawn for the upcoming spring by cleaning up debris and protecting it from cold temperatures.
Remember, these are general guidelines, and the specific timing may vary depending on your region in Georgia and the specific grass type you have. Consulting with a lawn care professional can provide tailored recommendations for your specific needs.
For more assistance or to be connected with a local lawn care expert please click the link below!
Connect with a lawn care expert now!
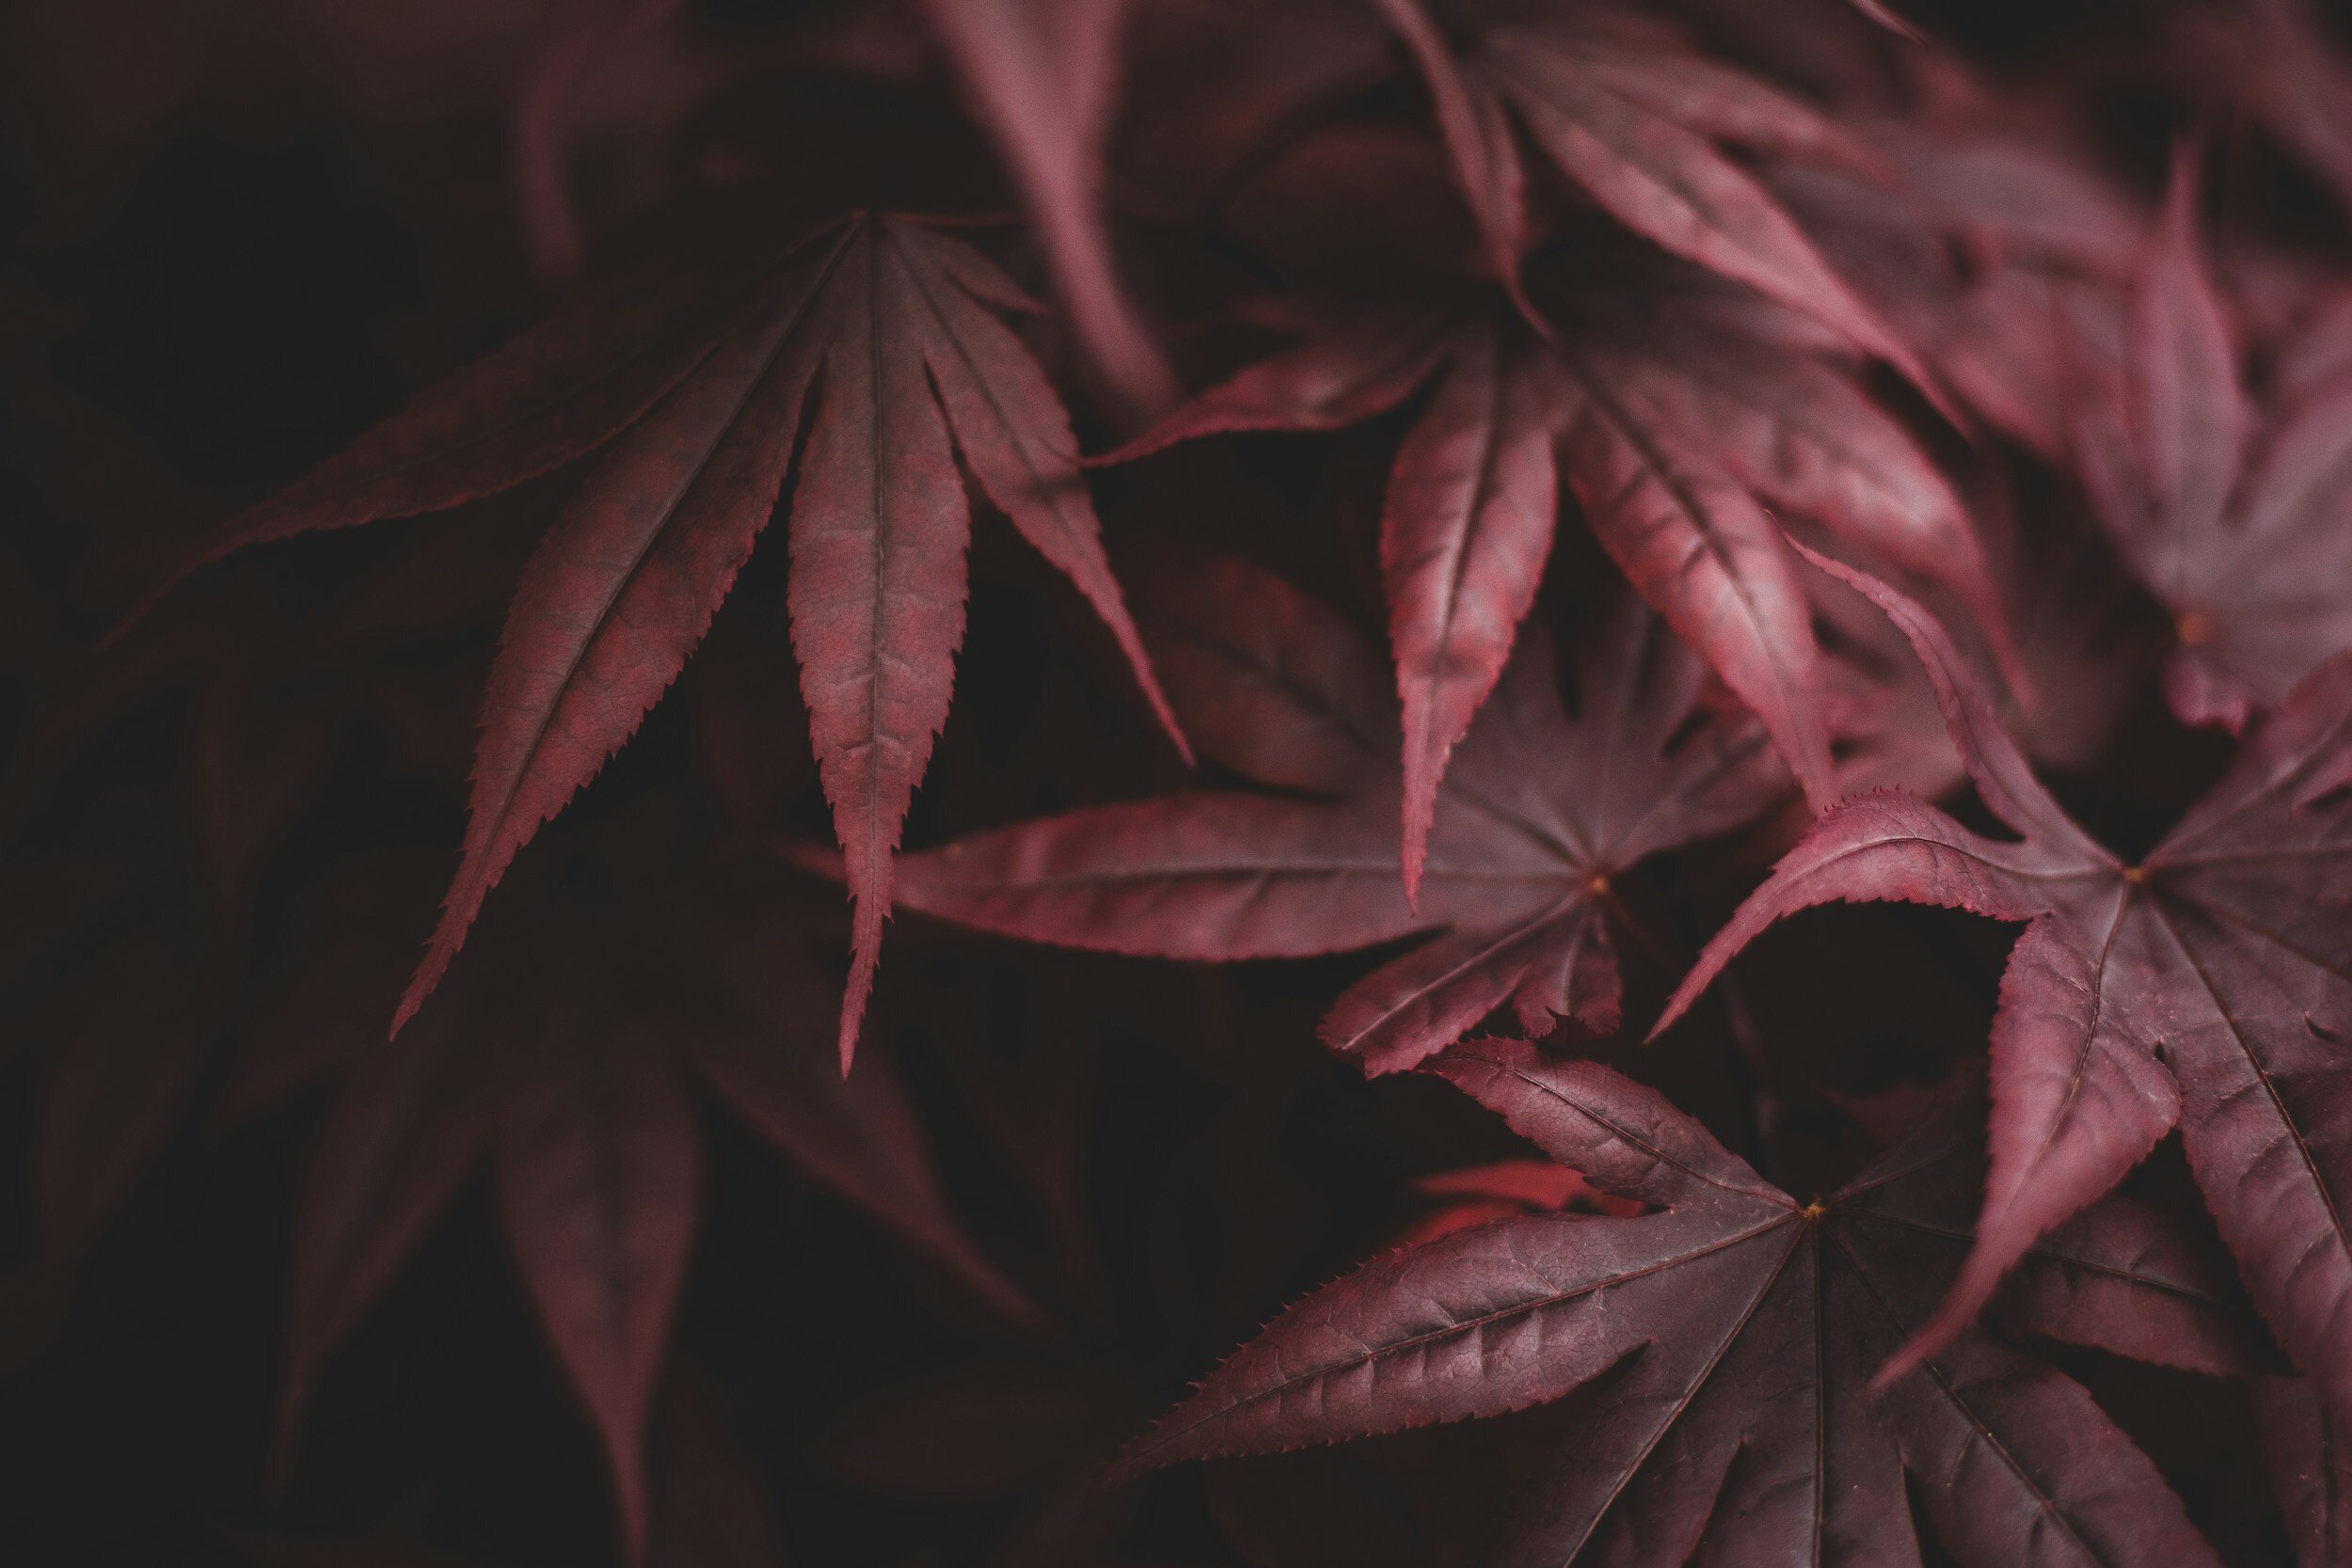
Japanese Maple Problems, Pests and Diseases
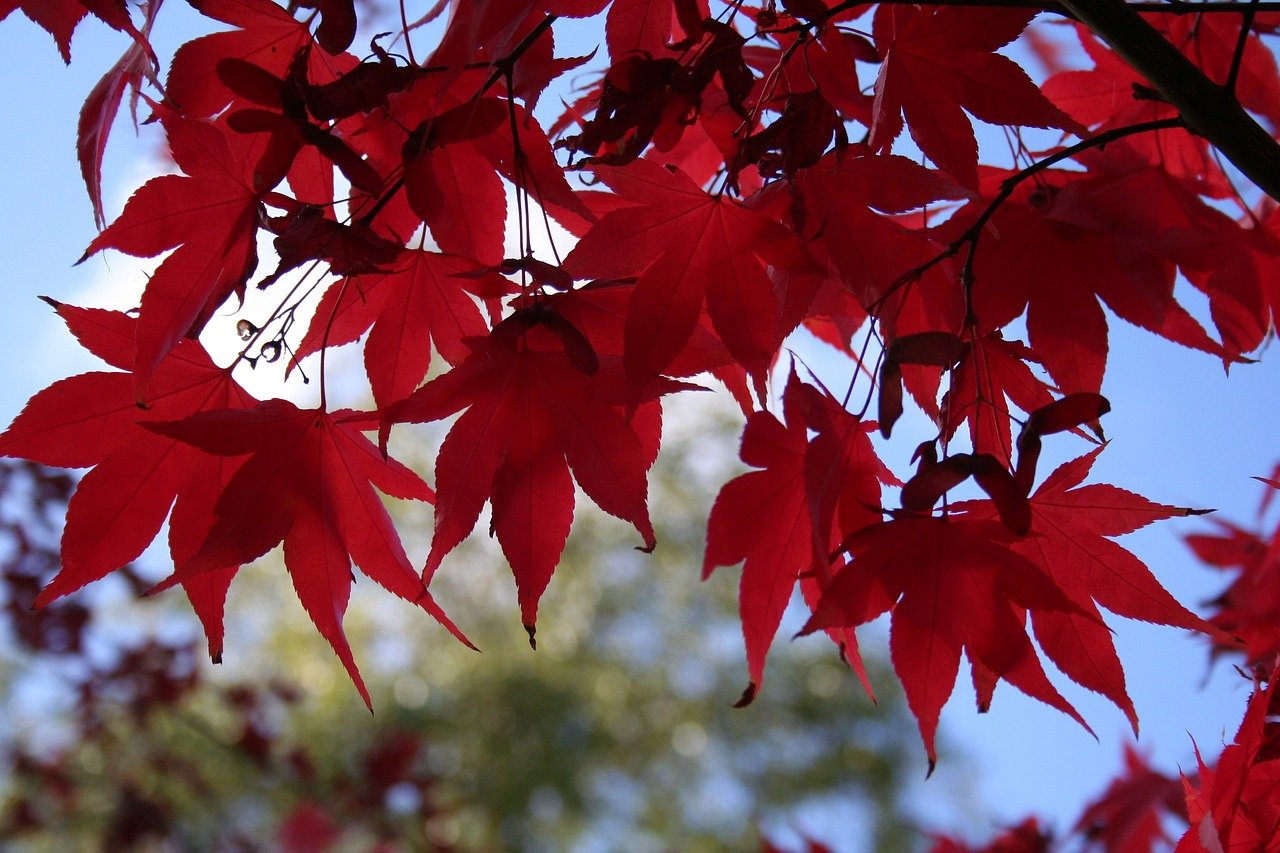
Have you noticed that your beloved Japanese maple tree is not looking its best? It could be facing a variety of problems, including pests and diseases that can wreak havoc on its health and beauty. In this article, we will explore common issues that Japanese maple trees face and provide tips on how to identify and treat them.
Common pests affecting Japanese maple trees
Japanese maple trees are susceptible to a range of pests that can cause damage to their leaves and bark. These pests include:
Aphids
Scale insects
Spider mites.
Aphids are small, soft-bodied insects that feed on the sap of plants. They can be easily identified by their pear-shaped bodies and the sticky residue they leave behind, known as honeydew. To prevent aphid infestations, it is important to keep your maple tree well-maintained and free from debris. Pruning any affected branches and using organic insecticidal soap can help control aphids and prevent them from spreading to other parts of the tree.
Scale insects are another common pest that can infest Japanese maple trees. These tiny insects attach themselves to the leaves and stems of the tree, sucking out its sap and causing damage. Signs of scale infestation include yellowing leaves, sticky residue, and black sooty mold. To get rid of scale insects, you can use horticultural oil or insecticidal soap to suffocate and kill them. Regularly inspecting your tree and removing any scales manually can also help prevent infestations.
Spider mites are tiny pests that are barely visible to the naked eye. They feed on the sap of the leaves, causing them to turn yellow and eventually die. To control spider mites, you can use a strong blast of water to dislodge them from the leaves. Additionally, introducing natural predators, such as ladybugs, can help keep the spider mite population in check.
Japanese maple tree diseases and their management
The most commonly sees diseases on Japanese Maple trees are:
Powdery Mildew
Verticillium Wilt
Anthracnose
Leaf Spot
Apart from powdery mildew and verticillium wilt, Japanese maple trees can be susceptible to other diseases such as anthracnose. Anthracnose is a fungal disease that causes dark, sunken lesions on the leaves, stems, and branches. Fungicides and proper sanitation practices can help manage anthracnose and prevent it from spreading to other trees.
Another common disease that affects Japanese maple trees is leaf spot. Leaf spot is caused by various fungi and bacteria and manifests as small, dark spots on the leaves. Regular arborist inspections on your trees and promptly removing any infected leaves can help prevent the spread of leaf spot.
Tips for maintaining the health of Japanese maple trees
To ensure the long-term health and vitality of your Japanese maple tree, there are several tips you can follow:
Provide adequate sunlight: Japanese maple trees thrive in partial shade, so make sure to plant them in an area where they receive dappled sunlight throughout the day.
Water properly: Japanese maple trees prefer moist, well-drained soil. Avoid over-watering, as it can lead to root rot and other fungal diseases.
Mulch around the base: Applying a layer of organic mulch around the base of your maple tree can help retain moisture, regulate soil temperature, and suppress weed growth.
Regular pruning: Pruning your tree regularly can help remove dead or diseased branches, improve air circulation, and promote healthy growth.
Fertilize appropriately: Japanese maple trees have specific nutrient requirements. Use a balanced, slow-release fertilizer formulated for maple trees to provide the necessary nutrients without over-stimulating growth.
Japanese maple tree care and maintenance
In addition to following the tips mentioned above, regular care and maintenance are crucial for the health and longevity of your Japanese maple tree. Here are a few additional steps you can take:
Regularly inspect your tree for signs of pests or diseases. Early detection can help prevent the spread of infestations or diseases. We recommend having annual arborist consultations on your trees to keep them happy, healthy and thriving for years to come.
Remove any fallen leaves or debris from around the tree to prevent the buildup of pests and diseases.
Protect your tree from extreme weather conditions, such as strong winds or heavy snowfall, by providing support or shelter when necessary.
Monitor the soil moisture levels and adjust your watering schedule accordingly, especially during hot and dry periods.
Consider consulting with a professional arborist for proper tree care and maintenance, especially if you are unsure about specific issues or treatments.
Japanese maple trees are prized for their beauty and elegance, but they can be vulnerable to a range of pests and diseases. By staying vigilant and taking proactive measures, you can protect your tree from common problems such as aphids, scale insects, powdery mildew, and verticillium wilt. Regular care and maintenance, along with proper watering and fertilization, will help ensure the long-term health and vitality of your beloved Japanese maple tree. Remember, a healthy tree is a beautiful tree. Certified arborists can help your landscape reach it maximum potential and raise the overall value of your property.
CALL AN ARBORIST

Why Do Oak Trees Lose Their Leaves For Winter?
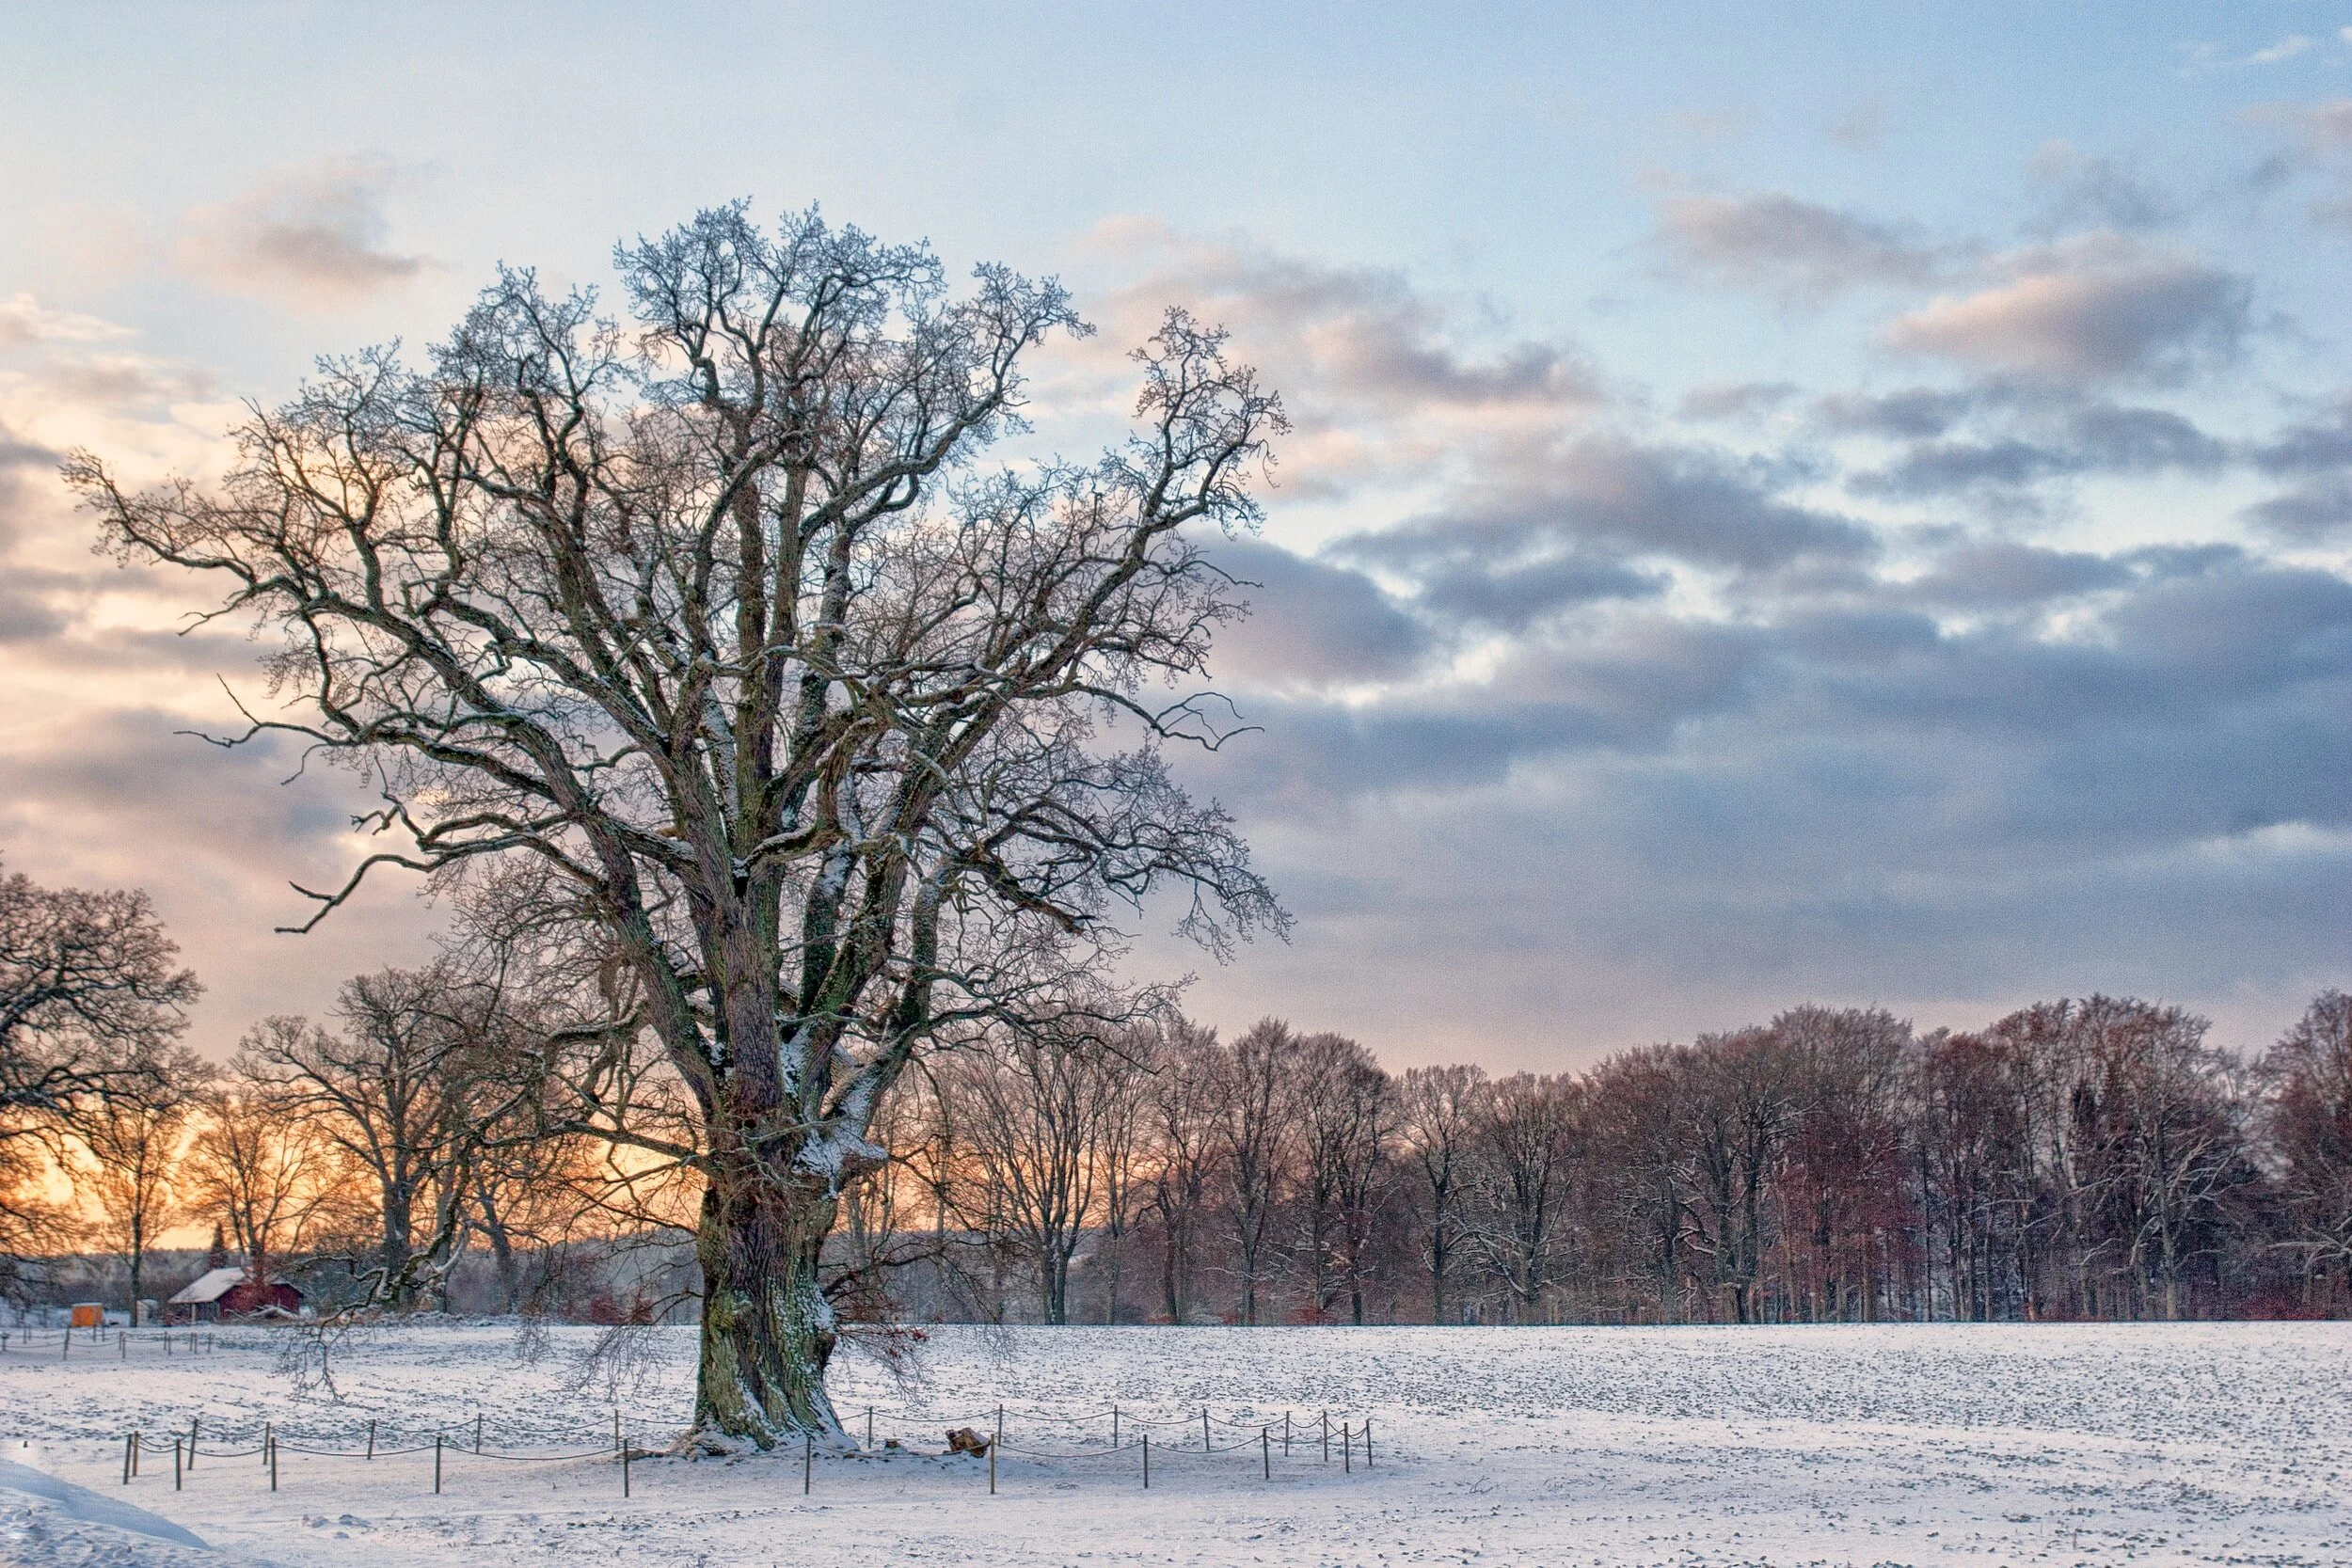
Have you ever wondered why trees, like oak trees, shed their leaves?
Leaf shedding, also known as abscission, is a natural process that occurs in deciduous trees like oak trees. It is a highly coordinated and intricate process that begins with the tree sensing environmental cues such as changes in temperature and daylight duration. These cues trigger a series of physiological and biochemical changes within the tree, leading to the shedding of its leaves.
The process of a tree losing its leaves is governed by a hormone called abscisic acid, which is responsible for initiating the detachment of the leaf from the tree. As the concentration of abscisic acid increases, it triggers the formation of a layer of cells called the abscission zone at the base of the leaf stem. This layer gradually weakens the connection between the leaf and the tree, allowing the leaf to fall off.
Why do trees lose their leaves?
Trees lose their leaves in winter for several important purposes for trees. One of the primary reasons is to conserve water. During the colder months, water may be less available to the tree's roots due to frozen soil or reduced rainfall. By shedding its leaves, the tree reduces its water loss through transpiration, as leaves are the primary site of water loss in trees.
Another benefit of leaf shedding is the preservation of nutrients. Before the leaves fall, the tree reabsorbs valuable nutrients from them and stores them in its branches, trunk, and roots. This nutrient recycling ensures that the tree can use these valuable resources to support its growth and survival during the dormant period.
During winter, the lack of sunlight and the freezing temperatures make it difficult for trees to photosynthesize and produce energy. By shedding their leaves, trees minimize their energy expenditure and focus on conserving resources for survival. This adaptation allows them to endure the harsh winter conditions until spring arrives and provides them with the necessary conditions for new growth.
Additionally, shedding leaves helps trees eliminate any potential threats or pathogens that may have accumulated on the leaves during the growing season. By shedding infected or damaged leaves, the tree can prevent the spread of diseases and ensure its overall health and vitality.
Why do pine trees and other evergreens not lose their leaves in winter?
While deciduous trees like oaks and maples shed their leaves, there are other types of trees known as evergreen trees that do not lose their leaves. Evergreen trees, such as pine, spruce, and cedar, have adapted to retain their leaves throughout the year.
The leaves of evergreen trees are typically needle-like or scale-like, which helps them conserve water and withstand harsh winter conditions. These trees have a higher concentration of resins and waxes in their leaves, which act as a protective barrier against freezing temperatures and excessive water loss.
What triggers trees to lose their leaves in winter?
While the primary triggers for leaf shedding are related to changes in temperature and daylight duration, there are other environmental factors that can influence the timing and intensity of the process. Factors such as drought, excessive rainfall, and wind can impact leaf shedding in trees.
During periods of drought, trees may shed their leaves earlier than usual to minimize water loss and conserve resources. Conversely, excessive rainfall can delay leaf shedding as the tree continues to receive sufficient water for its needs. Strong winds can also accelerate the shedding process by physically dislodging leaves from the tree.
Understanding why oak trees, and other deciduous trees like maple trees, shed their leaves allows us to appreciate the purpose and benefits of this process. From conserving water and nutrients to protecting against pathogens and adapting to changing seasons, leaf shedding is a vital survival mechanism for trees.
If you have any concerns or questions about your trees, don't hesitate to get in touch with our certified arborists for a free tree consultation today at (770) 554-9406. Let's continue to cherish and protect the wonders of nature that surround us.
Connect with an arborist now.

How To Take Care Of A Real Christmas Tree: Species-Specific Tips

Christmas is a magical time of year, and one of the most important symbols of the season is the Christmas tree. Whether you opt for a real tree or an artificial one, proper care is crucial to ensure its longevity and beauty throughout the holiday season. Taking the time to care for your Christmas tree will not only keep it looking picture-perfect but also help to prevent common issues such as needle drop and fire hazards.
Different Species Of Christmas Trees
When it comes to Christmas trees, there are several different species to choose from, each with its own unique characteristics and care requirements. Some of the most popular types of Christmas trees include:
Douglas Fir
Balsam Fir
Fraser Fir
Noble Fir
Scotch Pine
Douglas firs are known for their soft, dark green needles and strong branches. They require regular watering to keep their needles from drying out. On the other hand, Balsam firs have a pleasant fragrance and excellent needle retention. They thrive in cool temperatures and require ample water to stay hydrated. By understanding the unique care needs of different Christmas tree species, you can ensure that your tree stays healthy and vibrant throughout the holiday season.
Watering & Maintaining Your Christmas tree
Watering is one of the most critical aspects of Christmas tree care. A well-hydrated tree will not only stay fresh and vibrant but also reduce the risk of fire. It's essential to check the water level in the tree stand daily and add water as needed. The general rule of thumb is to provide one quart of water per inch of trunk diameter. This means that a tree with a four-inch trunk diameter should receive approximately one gallon of water per day.
Common Christmas Tree Issues
While proper care can go a long way in preventing common Christmas tree issues, it's important to be aware of potential problems and know how to manage them effectively. Some of the most common issues are:
Needle Drop
Needle drop, which can be caused by factors such as dry air, inadequate watering, or a species with naturally shedding needles. To minimize needle drop, ensure your tree is properly hydrated and keep it away from heat sources.
Christmas trees can harbor insects and mites that may become active once brought indoors. To prevent infestations, inspect the tree carefully before bringing it into your home and consider shaking it or using a vacuum to remove any unwanted guests.
Fire Safety
Keep your tree away from open flames, ensure that all lights and electrical decorations are in good working condition, and never leave the tree unattended when lights are on.
How To Extend The Life Of Your Christmas Tree
It's natural for a Christmas tree to shed some needles over time, but there are steps you can take to extend its lifespan and minimize needle drop. Here are a few tips:
Avoid placing the tree near heating vents or fireplaces, as these can accelerate needle drop.
Consider using a humidifier in the room to increase moisture levels, which will benefit both the tree and your overall indoor air quality.
Regularly misting the tree with water can also help to maintain its hydration.
By implementing these strategies, you can extend the lifespan of your Christmas tree and keep it looking fresh and vibrant throughout the holiday season.
Proper care is essential for maintaining the beauty and safety of your Christmas tree throughout the holiday season. By following the tips and guidelines outlined in this ultimate Christmas tree care guide, you can ensure that your tree stays picture-perfect from the moment you bring it home until the end of the holiday festivities. From selecting a high-quality tree to watering and maintaining it properly, each step plays a crucial role in preserving the tree's freshness and beauty. So go ahead, decorate your Christmas tree with love and care, and create lasting memories with your loved ones this holiday season.
For more information on which christmas tree species is best for your needs or to consult with one of our arborists click the link below to be connected.
CONSULT AN ARBORIST.

Why Are My Tree and Plant Leaves Turning Black?
There are several potential factors that contribute to the blackening of tree leaves, including fungal diseases, bacterial infections, environmental factors, nutritional deficiencies, and pests.
Fungal Diseases That Cause Black Tree Leaves
Fungal diseases are among the most common culprits when it comes to black tree leaves. One such disease is black spot, which affects various tree species, including roses. Black spot is caused by the fungus Diplocarpon rosae and manifests as black spots on the leaves, eventually leading to their discoloration and defoliation. Another example is sooty mold, a fungal growth that develops on the sugary secretions left behind by sap-sucking insects. This mold covers the leaves in a black, powdery substance, inhibiting photosynthesis and ultimately causing leaf discoloration.
Bacterial Infections That Cause Black Tree Leaves
Bacterial infections can also cause tree leaves to turn black. One notorious example is fire blight, which affects a wide range of trees, including apple, pear, and ornamental varieties. Fire blight is caused by the bacterium Erwinia amylovora and leads to wilting, blackening, and curling of leaves. Another bacterial infection that results in black leaf symptoms is bacterial leaf scorch. This disease affects trees such as oak, elm, and maple, and causes leaf margins to turn black and crispy.
Environmental Factors That Cause Black Tree Leaves
Environmental factors play a significant role in leaf discoloration. Exposure to extreme temperatures, such as frost or scorching heat, can cause leaves to turn black. Additionally, excessive sunlight without adequate protection can lead to sunscald, resulting in blackened leaves. Air pollution, especially high levels of smog or chemical pollutants, can also contribute to leaf discoloration. It is important to consider these factors and provide appropriate care and protection for your trees.
Nutritional Deficiencies and Excesses That Cause Black Tree Leaves
Nutritional imbalances can lead to blackened leaves as well. Certain deficiencies, such as iron or magnesium, can cause chlorosis, a condition characterized by yellowing and eventual blackening of leaves. On the other hand, excessive levels of certain nutrients, such as nitrogen, can result in leaf burn and blackening. It is essential to maintain a balanced nutrient profile in the soil to prevent these issues and promote healthy leaf growth.
Pests and Insects That Cause Black Tree Leaves
Pest infestations can also cause tree leaves to turn black. Aphids, for instance, are tiny insects that feed on the sap of leaves, leaving behind a sticky residue known as honeydew. This honeydew attracts sooty mold, which blackens the leaves. Other pests, such as scale insects and spider mites, can also cause leaf discoloration and blackening through their feeding activities. Proper pest management techniques, including regular inspections and appropriate insecticides, can help prevent these issues.
Prevention and Treatment for Black Tree Leaves
Prevention is key when it comes to addressing black tree leaves. Regular maintenance practices with a certified arborist consultation are vital. Other practices such as proper watering, pruning, and fertilization, can help keep trees healthy and resilient. It is also crucial to address any signs of disease or pest infestation promptly. In the case of fungal diseases, having your local tree care specialist apply fungicides can aid in prevention and treatment. For bacterial infections, pruning and removing affected branches is often necessary to prevent further spread. Consulting with a certified arborist can provide valuable guidance in determining the best course of action.
Conclusion and Final Thoughts
While the sight of black tree leaves may initially raise concerns, understanding the underlying causes can help you take appropriate action to address the issue. Whether it be fungal diseases, bacterial infections, environmental factors, nutritional imbalances, or pest infestations, a proactive approach to tree care and maintenance is crucial. By implementing preventative measures and seeking professional advice from a certified arborist when needed, you can ensure the health and vitality of your trees for years to come.
Remember, a healthy tree not only enhances the beauty of your garden but also contributes to the overall well-being of our environment.
If you have noticed black tree leaves in your garden, take immediate action by examining the affected trees, considering potential causes, and seeking an arborist consultation by clicking the link below.
CALL AN ARBORIST
The Ultimate Guide to Watering Trees: Best Practices for Nurturing New Additions

Water is essential for the growth and survival of all living organisms, and trees are no exception. Adequate watering provides trees with the necessary hydration to flourish and withstand environmental stresses. In this comprehensive guide, we will walk you through the best practices for watering trees, helping you nurture your new additions with confidence.
How to Determine When to Water Your Trees
There is no one-size-fits-all answer, as the water requirements vary depending on factors such as tree species, soil type, and weather conditions. To determine if your trees need watering, you can perform a simple soil moisture test. Insert a screwdriver or a soil probe into the ground around the tree's root zone. If it goes in easily and the soil feels moist, your tree is likely adequately hydrated. On the other hand, if the soil is dry and compacted, it's time to water.
Best Practices for Watering Newly Planted Trees
Watering newly planted trees is of utmost importance, as they have not yet established an extensive root system to seek out water on their own. Follow these best practices to ensure the successful establishment of your newly planted trees:
The key to watering newly planted trees is deep watering. This involves providing a slow and steady flow of water directly to the root zone. Use a soaker hose or a drip irrigation system to apply water slowly and deeply. This method allows the water to penetrate the soil, encouraging the roots to grow downward in search of moisture. Avoid shallow watering, as it promotes surface roots that are more susceptible to drying out.
Watering Schedule
Establishing a regular watering schedule is essential to prevent under or overwatering. For the first few weeks after planting, water your tree every 2-3 days. As the tree becomes established and develops a stronger root system, you can gradually reduce the frequency of watering to once a week. Monitor the soil moisture regularly to adjust the watering schedule accordingly.
Mulching
Mulching around the base of your newly planted tree has several benefits, including moisture retention. Apply a layer of organic mulch, such as wood chips or shredded bark, around the tree, leaving a gap around the trunk to prevent rot. Mulch helps to conserve soil moisture, regulate soil temperature, and suppress weed growth. Be sure not to pile the mulch against the trunk, as it can create a moist environment that encourages disease and insect infestation.
Different Methods for Watering Trees
There are various methods you can use to water your trees effectively. The choice of method depends on factors such as tree size, availability of equipment, and personal preference. Here are a few common methods for watering trees:
Hand Watering
Hand watering is a simple and affordable method that allows you to control the amount and location of water applied. Use a watering can or a garden hose with a gentle spray nozzle to water the tree's root zone. Apply water slowly and evenly, ensuring that it penetrates the soil rather than running off the surface. This method works well for small to medium-sized trees.
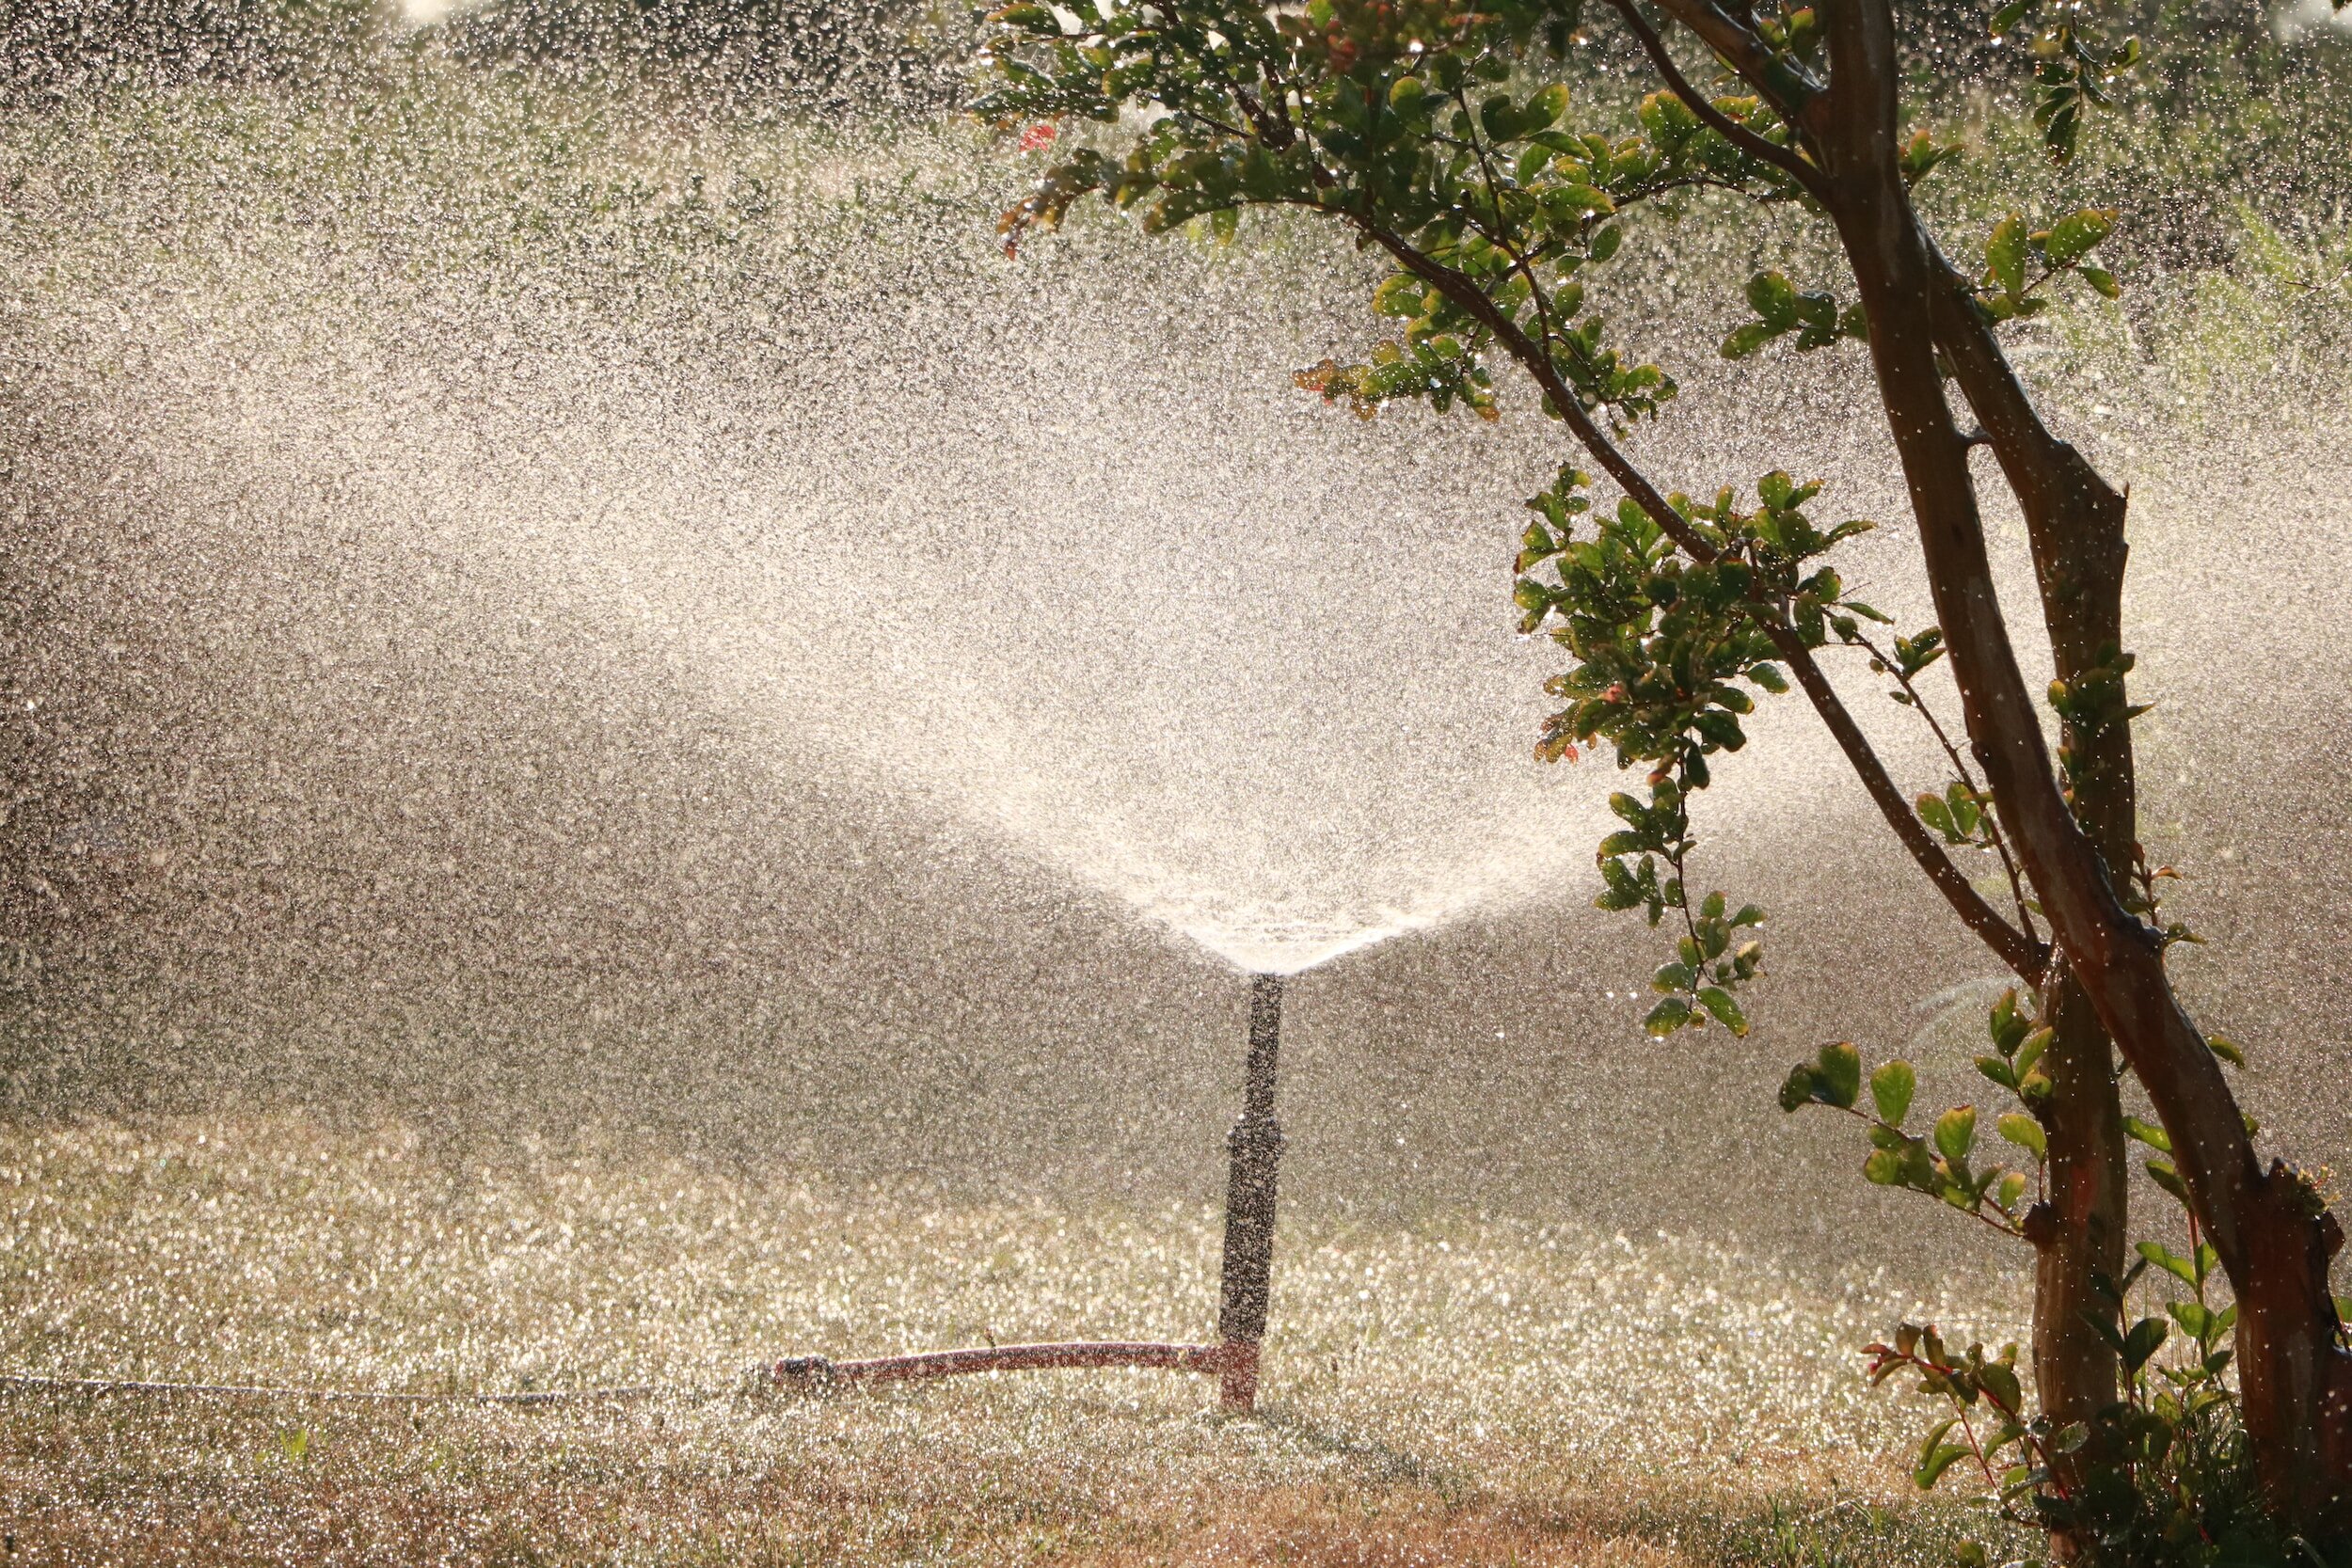
Sprinkler Irrigation
Sprinkler irrigation is a popular method for watering large trees or multiple trees simultaneously. Install sprinklers in the vicinity of your trees and set them to water for an extended period. Ensure that the water reaches the root zone by adjusting the sprinkler heads and avoiding excessive runoff. It's important to note that sprinkler irrigation may not be as efficient as other methods, as a significant amount of water can be lost to evaporation.
Drip Irrigation
Drip irrigation is a highly efficient method that delivers water directly to the tree's root zone. It involves the use of a network of tubes or pipes with emitters that release water slowly and evenly. Drip irrigation minimizes water waste and allows for precise control of water application. This method is particularly beneficial for large trees or areas with water restrictions.
Using Tree Watering Bags
Tree watering bags are a fantastic tool for efficient and convenient watering, especially for newly planted trees. These bags are made of porous material and wrap around the base of the tree trunk, providing a slow release of water directly to the root zone. The bags can be filled with water and left to slowly irrigate the tree over several hours or days. This method ensures deep watering and reduces water waste through evaporation. Tree watering bags are an excellent option for busy homeowners or those who have difficulty maintaining a regular watering schedule.
Signs of Overwatering or Underwatering Trees
Proper watering is a delicate balance, and both overwatering and underwatering can have detrimental effects on your trees. It's crucial to recognize the signs of these conditions to take appropriate action. Here are some signs to look out for:
Overwatering
Overwatering can lead to root rot, fungal diseases, and overall decline in tree health. Signs of overwatering include:
Yellowing or wilting leaves
Mushy or foul-smelling roots
Excessive canopy dieback
Algae or mold growth on the soil surface
If you notice these signs, reduce the frequency and volume of watering and improve soil drainage if necessary.
Underwatering
Underwatering can cause stress and dehydration, leading to stunted growth and increased susceptibility to pests and diseases. Signs of underwatering include:
Drooping or wilted leaves
Browning or yellowing of leaves
Brittle or dry branches
Premature leaf drop
If you suspect underwatering, increase the frequency and volume of watering, ensuring that the water reaches the root zone.
Proper watering is a fundamental aspect of tree care that should not be overlooked. By following the best practices outlined in this guide, you can ensure the health and vitality of your trees for years to come. Remember to consider the specific needs of your tree species, adjust your watering practices accordingly, and always monitor the soil moisture. If you have any doubts or need further assistance, don't hesitate to call a certified arborist to schedule a consultation. Happy tree watering!
CALL AN ARBORIST

Maximizing Your Bermuda Lawn's Potential: Timing Your Overseeding in Georgia

As a homeowner in Georgia, you understand the importance of having a lush and healthy lawn. One popular grass choice for Georgia lawns is Bermuda grass. Known for its durability and resilience, Bermuda grass thrives in the warm and humid climate of Georgia. However, even the healthiest Bermuda lawns can benefit from overseeding. In this article, we will explore the best practices for timing your overseeding efforts to maximize the potential of your Bermuda lawn.
Before delving into overseeding, it's crucial to understand the unique climate and growing conditions in Georgia. Georgia experiences a subtropical climate, characterized by hot and humid summers, mild winters, and plenty of rainfall. These conditions are ideal for Bermuda grass, as it is a warm-season grass that thrives in temperatures between 75°F and 90°F. Additionally, Bermuda grass requires at least eight hours of direct sunlight to grow and spread properly.
Why timing is crucial for overseeding Bermuda grass in Georgia.
Timing is crucial when it comes to overseeding Bermuda grass in Georgia. Overseeding involves spreading grass seed over an existing lawn to fill in bare spots, improve density, and enhance the overall appearance. For Bermuda grass lawns, overseeding is typically done in the fall when the temperatures start to cool down, and the grass is still actively growing. This timing allows the new grass seed to establish itself before the dormant winter period.
Furthermore, it's essential to monitor soil temperatures before overseeding. Bermuda grass seeds germinate best when the soil temperature is consistently above 65°F. You can use a soil thermometer to check the soil temperature and ensure it is within the optimal range for germination.
How to prepare your lawn for overseeding.
To ensure the success of your overseeding efforts, proper preparation is key. Here are some best practices to follow when preparing your Bermuda grass lawn for overseeding:
Mow your lawn: Before overseeding, give your Bermuda grass a close cut to remove excess thatch and create a clean canvas for the new grass seed.
Remove debris: Clear any debris, such as leaves, sticks, and rocks, from your lawn. These can hinder seed-to-soil contact and impede germination.
Core aerate: Core aerating your lawn helps alleviate soil compaction and improves seed-to-soil contact. This process involves removing small plugs of soil from your lawn, allowing air, water, and nutrients to reach the grassroots.
Conduct a soil test: A soil test provides valuable insights into your soil's pH level and nutrient deficiencies. Based on the results, you can amend your soil with the appropriate fertilizers and amendments to create an optimal growing environment for your Bermuda grass.
Apply a starter fertilizer: Before overseeding, apply a high-quality starter fertilizer that is specifically formulated for new grass seed. This will provide the necessary nutrients for the germinating seedlings.
Water thoroughly: Water your lawn thoroughly before overseeding to ensure the soil is moist. This will promote better seed-to-soil contact and enhance germination.
Common mistakes to avoid when overseeding.
While overseeding can be a beneficial practice for your Bermuda grass lawn, it's essential to avoid common mistakes that can hinder its success. Here are some mistakes to avoid:
Overseeding too early or too late: Timing is crucial when overseeding Bermuda grass. Avoid overseeding in the spring or summer when the temperatures are high and competition from established Bermuda grass is fierce. Similarly, overseeding too late in the fall may not give the new grass seed enough time to establish before winter dormancy.
Using low-quality grass seed: Invest in high-quality grass seed that is specifically formulated for Bermuda grass. Using low-quality seed can result in poor germination, weak seedlings, and an overall disappointing outcome.
Neglecting proper soil preparation: Proper soil preparation is essential for successful overseeding. Neglecting core aeration, soil testing, and amending deficiencies can hinder the growth and establishment of the new grass seed.
Overwatering or underwatering: Finding the right balance of watering is crucial for overseeding success. Overwatering can lead to fungal diseases and weak seedlings, while underwatering can cause seedling death and poor establishment. Follow watering guidelines and monitor the moisture levels of your lawn regularly.
How to care for your newly overseeded lawn.
Once you have overseeded your Bermuda grass lawn, it's crucial to provide proper care to ensure its successful establishment. Here are some tips for caring for your newly overseeded lawn:
Watering: Keep the soil consistently moist by watering lightly multiple times a day. This helps promote germination and establishment of the new grass seed. As the seedlings grow, gradually reduce the frequency of watering but increase the amount of water applied to encourage deep root growth.
Avoid heavy foot traffic: Minimize foot traffic on your newly overseeded lawn until the grass seed has fully established. This will prevent damage and allow the seedlings to grow undisturbed.
Adjust mowing height: Once the grass seedlings have reached a height of around 2 inches, adjust your mower to a higher setting and mow the lawn. Be careful not to remove more than one-third of the grass height in a single mowing.
Fertilize appropriately: After the grass seedlings have established, apply a balanced slow-release fertilizer according to the manufacturer's instructions. This will provide the necessary nutrients for healthy growth and development.
Weed control: Keep an eye out for weeds that may compete with the newly overseeded grass. Hand-pull weeds or use a selective herbicide that is safe for Bermuda grass.
Timing your overseeding efforts is crucial to maximize the potential of your Bermuda grass lawn in Georgia. By understanding the climate and growing conditions, considering the right factors, and following best practices, you can achieve a lush and healthy lawn. Remember to avoid common mistakes, provide proper care for your newly overseeded lawn, and maintain ongoing maintenance practices for long-term success. With the right timing and care, your Bermuda grass lawn will thrive, enhancing the beauty of your Georgia home.
For professional overseeding services and expert advice tailored to your Bermuda grass lawn's specific needs, contact us at 770-554-9406. Our team of lawn care specialists is here to help you achieve the lawn of your dreams.
CALL A LAWN CARE SPECIALIST NOW

When To Fertilize Your Lawn In Fall For A Lush, Green Yard

The Ultimate Guide: When to Fertilize Your Lawn in Fall for a Lush Green Yard
Importance of Fall Lawn Fertilization
One of the primary reasons why fall lawn fertilization is essential is because it helps to strengthen the root system of your grass. As the temperature cools down, the grass shifts its focus from above-ground growth to underground root development. Applying fertilizer during this time provides the necessary nutrients for root growth, enabling your lawn to withstand the winter months and bounce back vigorously in the spring.
In addition to root development, fall fertilization also helps to improve the overall health and resilience of your lawn. The nutrients in the fertilizer promote thicker and stronger grass blades, making your yard more resistant to diseases, pests, and weeds. Moreover, fall fertilization helps to replenish any nutrients that may have been depleted during the summer months, ensuring that your lawn has everything it needs to thrive.
Understanding the Fall Fertilization Schedule
Knowing when to fertilize your lawn in the fall is crucial for achieving optimal results. The specific timing will depend on various factors, such as your grass type, climate, and geographical location. However, a general guideline is to apply fall fertilizer about 4 to 6 weeks before the first frost.
For cool-season grasses, such as Kentucky bluegrass and fescue, the ideal time to fertilize is early to mid-fall. This allows the grass to absorb the nutrients and store them in the root system before the winter dormancy period. Warm-season grasses, like Bermuda grass and zoysia, should be fertilized in late summer or early fall to promote healthy root growth and prepare for the winter season.
To determine the specific timing for your lawn, it is recommended to consult a local lawn care professional or refer to a lawn care calendar specific to your region. These resources take into account the climate and grass type prevalent in your area, providing you with accurate guidance for fall lawn fertilization.
Lawn Care Practices to Complement Fall Fertilization
While fall fertilization is an essential part of lawn care, it should be complemented by other practices to maximize the health and beauty of your yard. Here are a few additional steps you can take to ensure a flourishing lawn:
Mowing: Proper mowing is crucial during the fall season. Gradually lower the cutting height of your mower as the grass growth slows down. However, avoid cutting the grass too short, as this can stress the plants and make them more susceptible to winter damage.
Aeration: Fall is an excellent time to aerate your lawn. Aerating helps to alleviate soil compaction and allows air, water, and nutrients to reach the grassroots. This promotes better nutrient absorption and root growth, resulting in a healthier and more vibrant lawn.
Overseeding: If your lawn has bare patches or thin areas, overseeding can help to fill in those gaps and improve the overall density of your grass. Choose a high-quality grass seed blend that is suitable for your climate and grass type, and apply it after fertilization for optimal results.
By incorporating these lawn care practices alongside fall fertilization, you can create an optimal environment for your grass to flourish and enjoy a lush green yard.
Remember to consult local lawn care professionals for precise guidance. By investing time and effort into fall lawn fertilization, you can enjoy a beautiful yard that becomes the envy of the neighborhood. Start planning and preparing your lawn now to reap the rewards of a healthy, vibrant, and lush green yard in the near future.